
Bathroom Remodeling in New Castle County, DE and Chester County, PA
Bathrooms rebuilt from the waterproofing out: tub-to-shower conversions, tile, vanities, and fans that actually vent outside.
Licensed and insured · Established 2022

A bathroom can look finished and still be failing. Water works behind tile through grout that was never meant to stop it, a fan pushes steam into the attic instead of outside, and the subfloor under the toilet goes soft years before anyone notices. The finishes are what you see on the first day. The layers behind them decide what the room looks like ten years on.
Most bathroom projects are one of three jobs: a hall bath that gets new surfaces in the same layout, a primary bath where the tub comes out for a walk-in shower, or a powder room that should look better than it does. Each one is planned from the drain and the vent outward, and the tile goes on last.
Ready to talk about your project? Get a free estimate, or call (302) 893-2093.
Finished work
Bathrooms Dawson's Remodeling has finished.
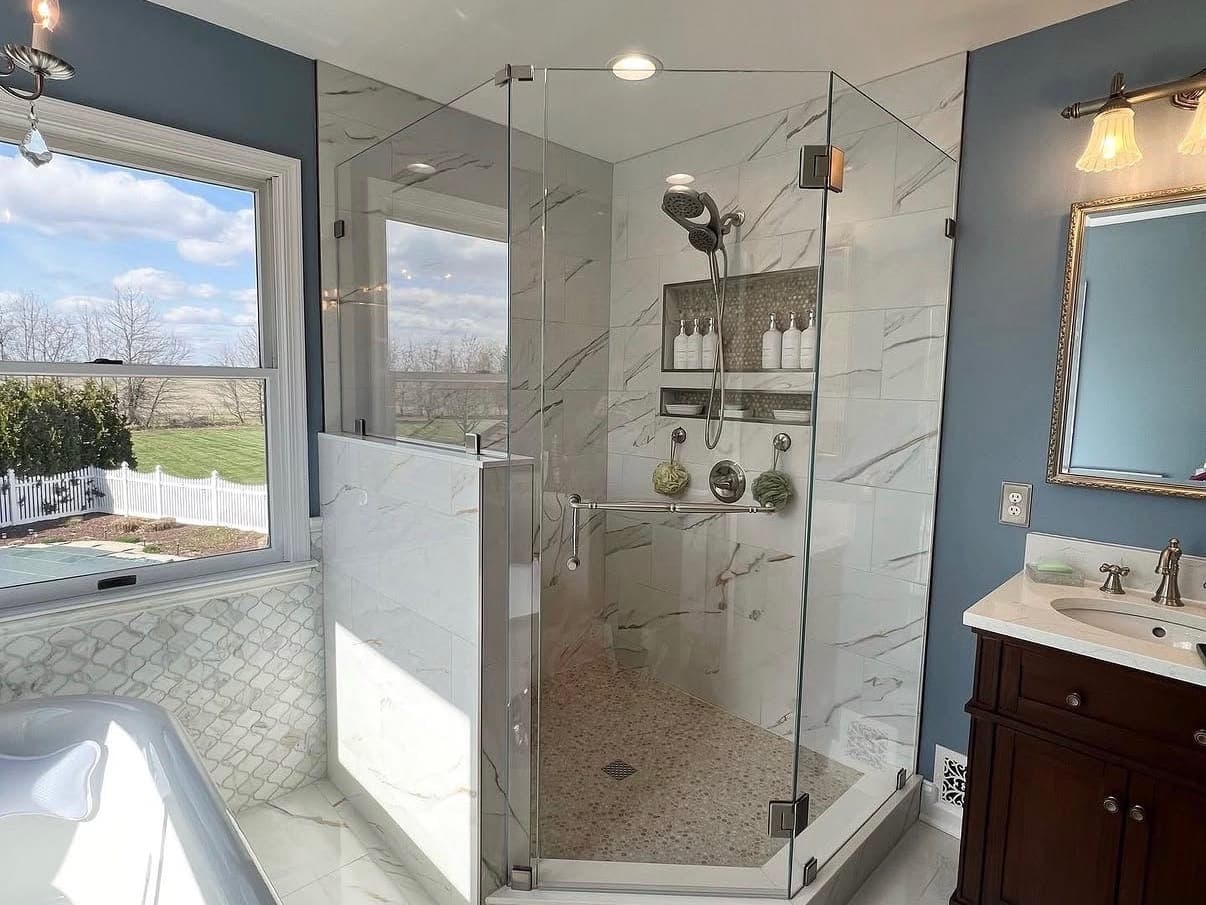
Marble-look tile, pebble shower floor, freestanding tub 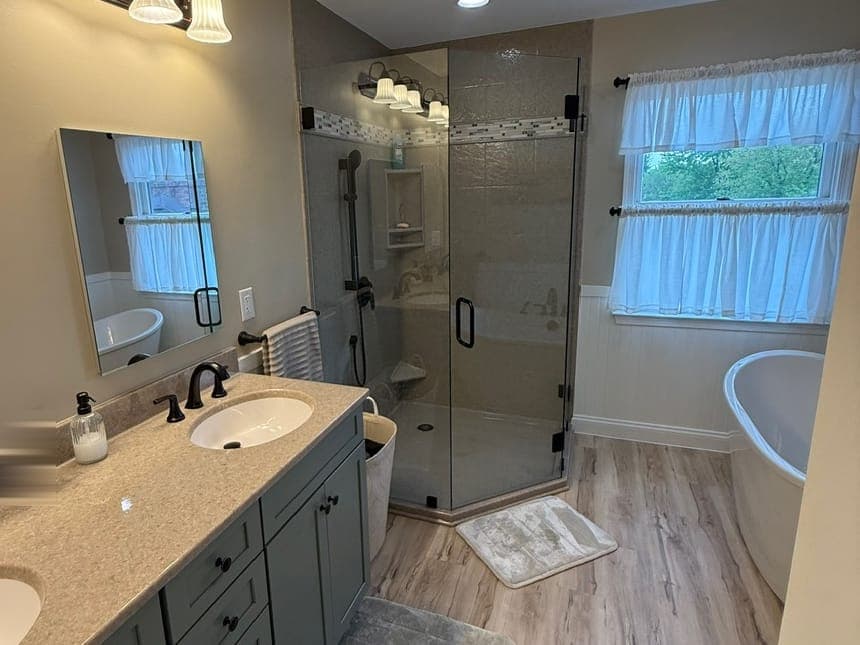
Sage double vanity, corner shower, freestanding tub 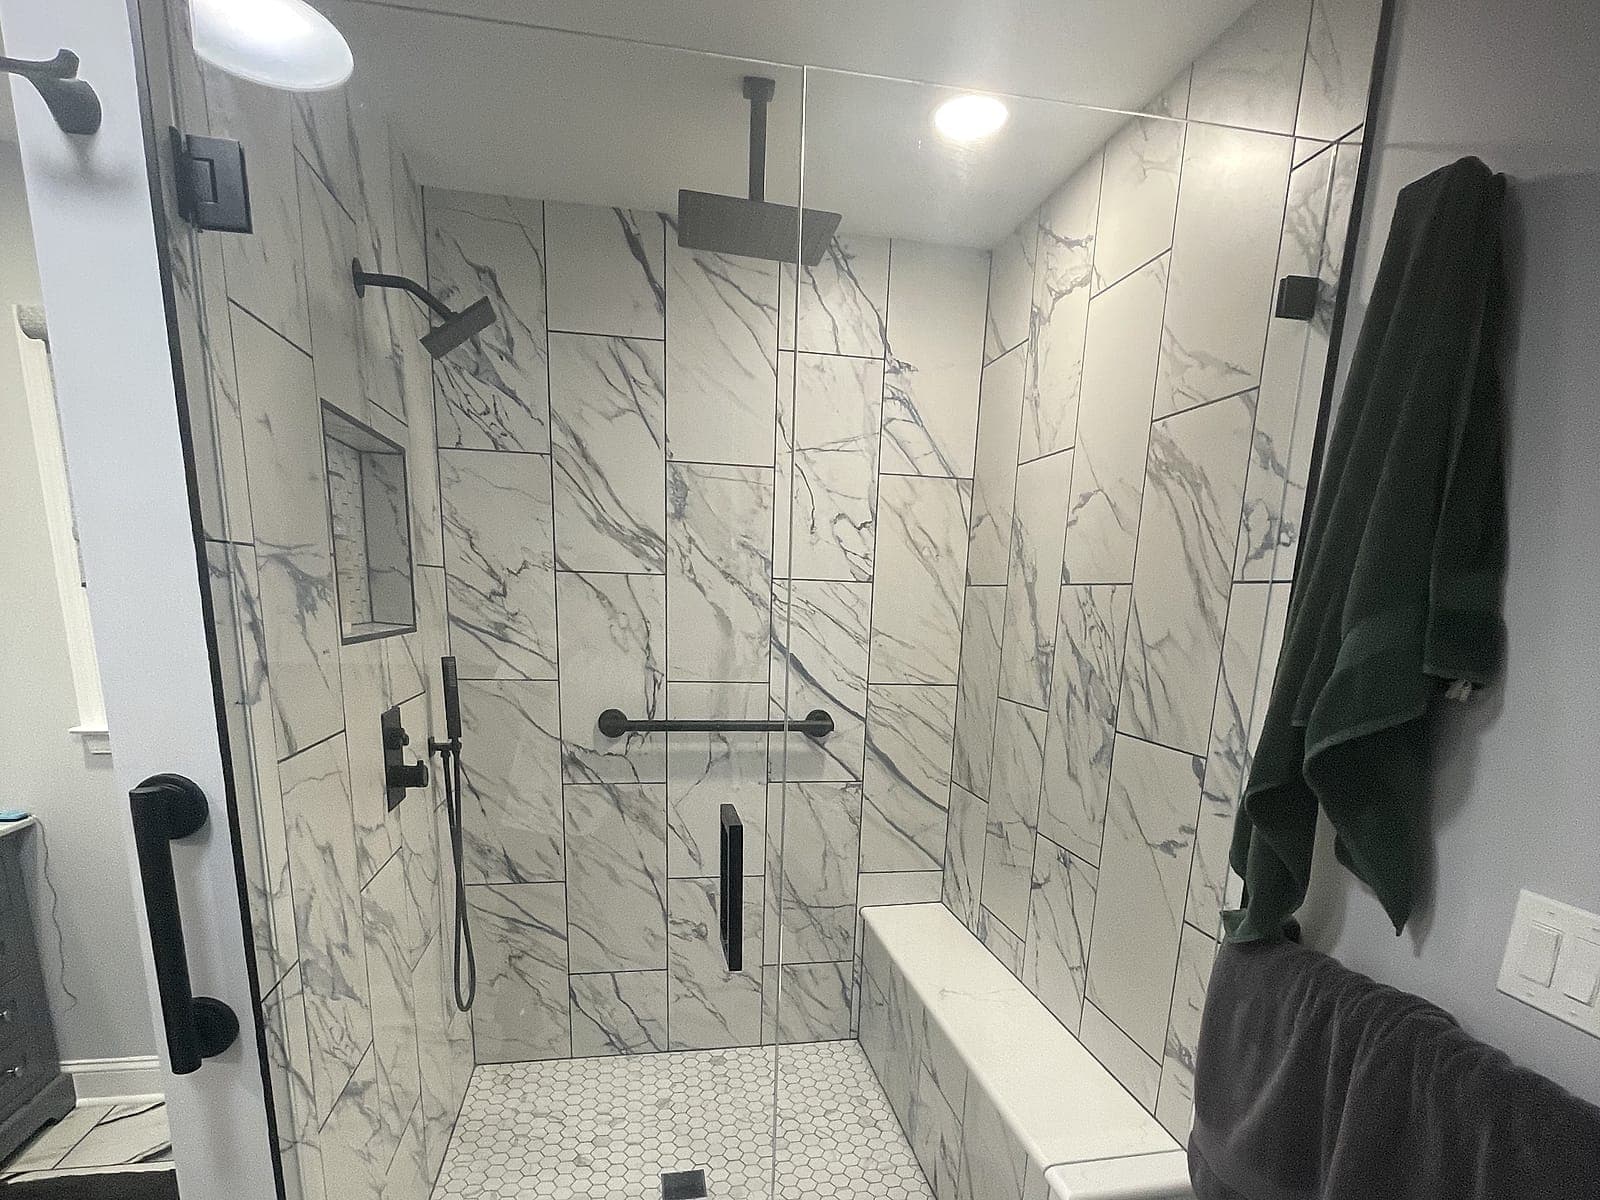
Marble-look tile, matte black fixtures, tiled bench 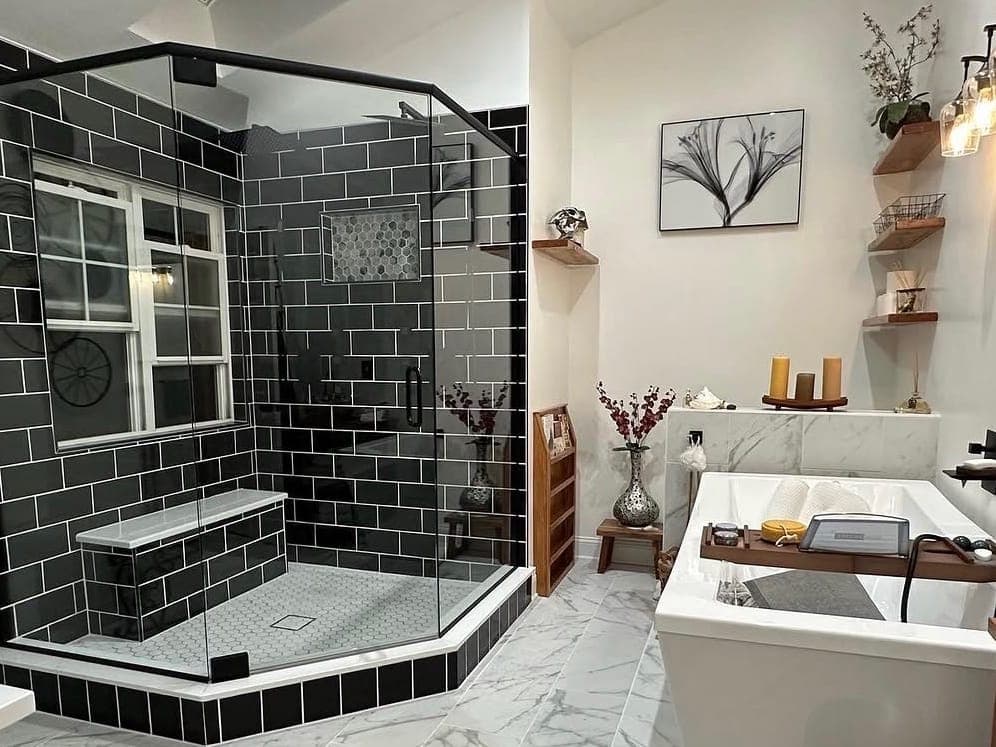
Black subway tile, hex floor, freestanding tub 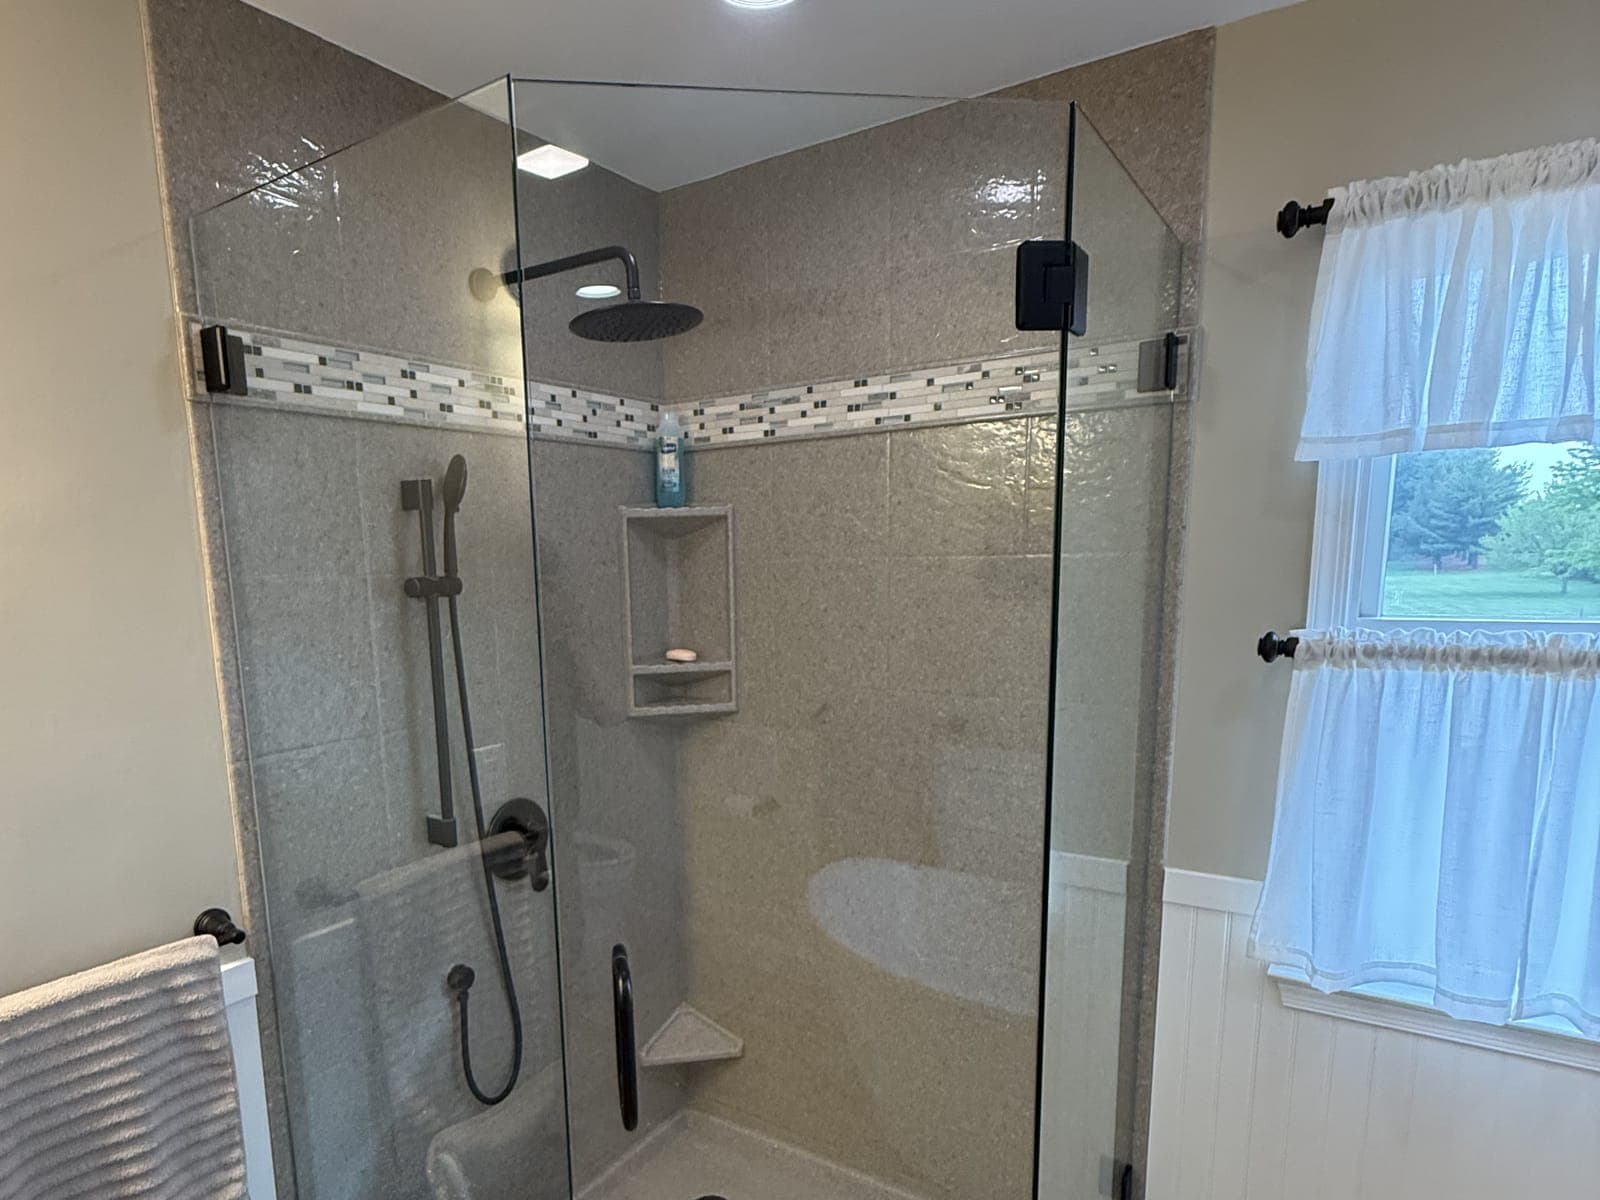
Solid-surface corner shower, glass mosaic band 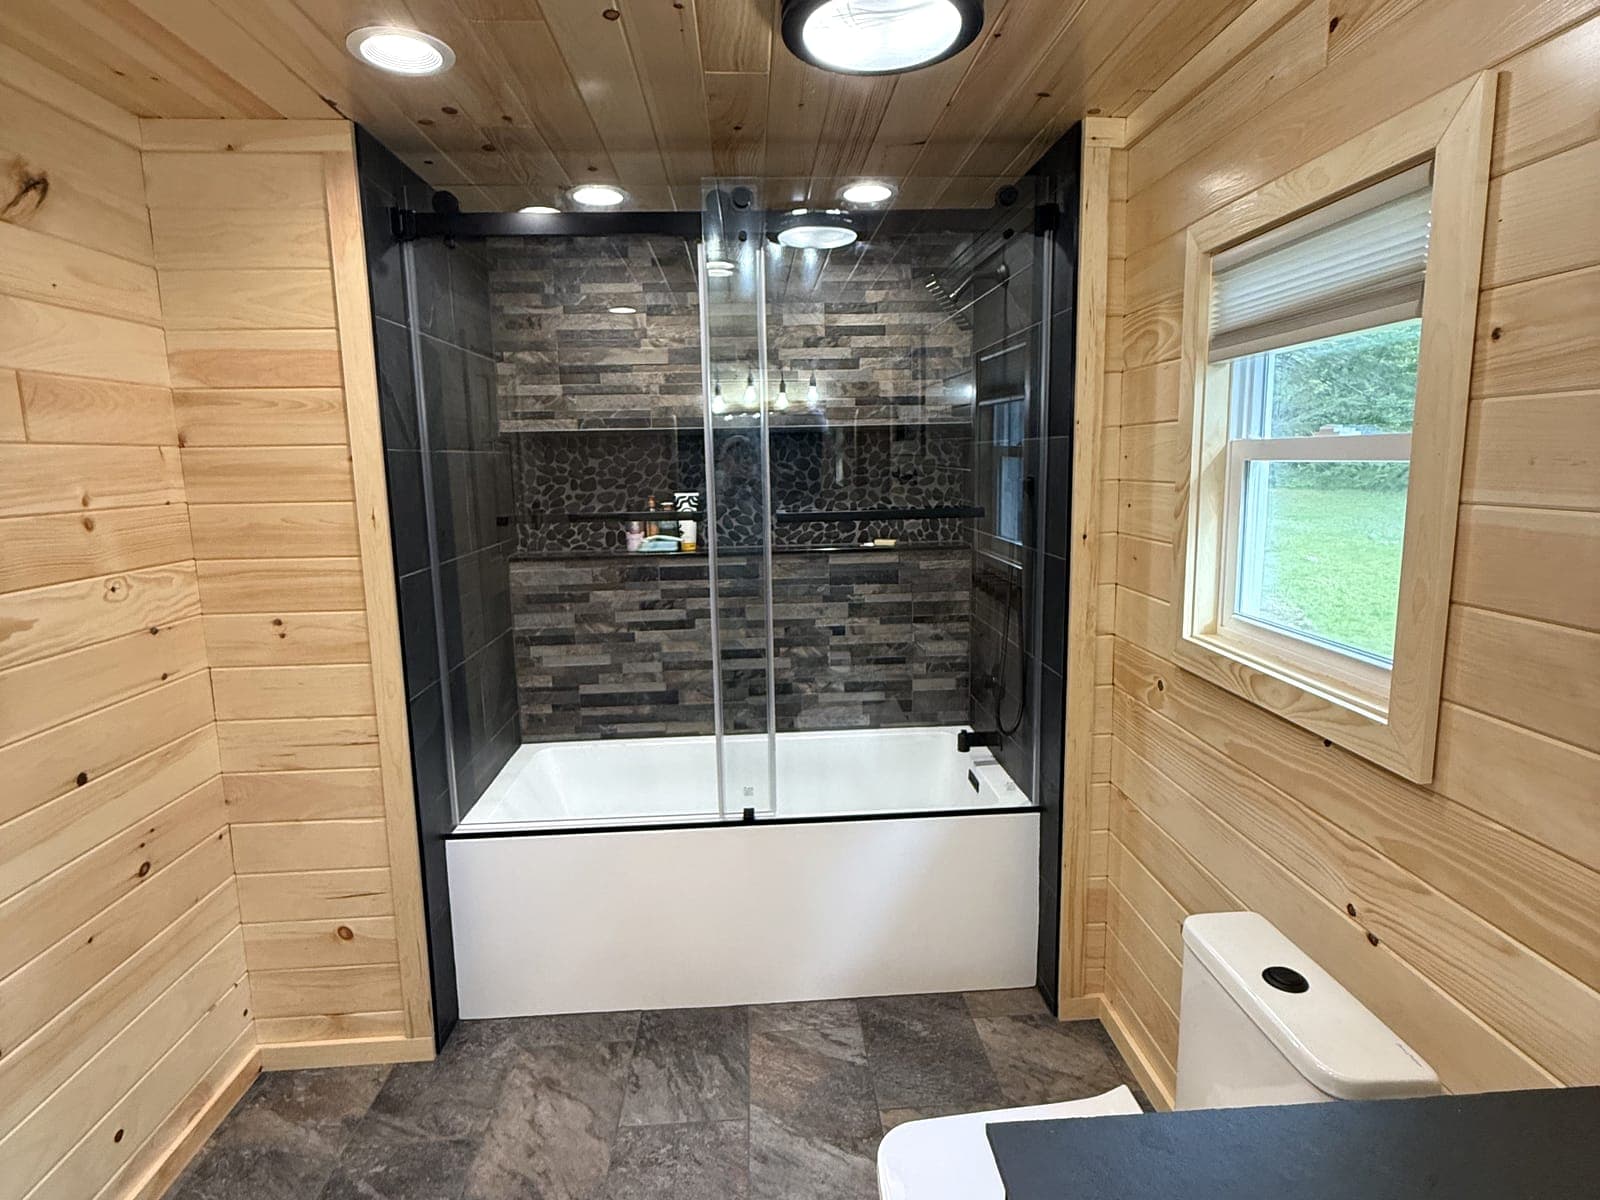
Knotty pine walls, slate-look tile, black-framed door
Hall bath, primary bath or powder room
A hall bath gets the hardest use in the house, so durability leads: porcelain tile, a tub with a tiled surround, a vanity with real drawers, a fan on a timer. Layouts rarely change because there is nowhere for them to go.
A primary bath is where layout questions come up. A double vanity, a larger shower, a separate toilet area and somewhere to put towels usually mean borrowing space from a closet or an adjoining bedroom. That is a framing job as much as a tile job, and it is worth sketching before you fall for a vanity.
A powder room is small, so the finishes carry the room. A good faucet, a wall-mounted or pedestal sink, real tile and lighting you would want to look in a mirror under. With no shower, it is the fastest bathroom project in the house.
Full remodel or update in place
A full remodel takes the room back to the framing. Everything comes out, the subfloor and the framing get checked and repaired, the plumbing is moved or replaced as needed, and the room is rebuilt from new circuits and a ducted fan to the last towel bar.
An update in place keeps the layout and the working plumbing and replaces the surfaces and fixtures, which suits a bathroom that is ugly but sound. The line between the two is usually the shower tile. Once it comes off, you are into a full remodel whether you planned one or not, because what sits behind 1970s tile is rarely worth saving.
What demolition finds in older bathrooms
A lot of the bathrooms in homes built from the 1960s through the 1980s around Pike Creek and Newark are original. Expect a cast-iron tub that takes two people and a saw to remove, four-inch tile set in a thick mud bed, galvanized or early copper supply lines, and no exhaust fan at all. Expect the subfloor around the toilet to be soft. None of that is a reason to avoid the project, but it is a reason to budget for what the demolition will find.
The upside is that these bathrooms are usually laid out sensibly, with the plumbing on one wall and a window. A remodel that keeps the layout and replaces everything in it turns a fifty-year-old bathroom into one built to last.
Planning around your only full bath
A full remodel is measured in weeks, not days, and tile and glass have their own lead times. If the bathroom being remodeled is the only full bath in the house, plan for it: a neighbor, a gym membership, or scheduling the work while you are away. Everything for the job should be on site before demolition starts, so the room is not sitting open waiting on a vanity.
The layer you will never see
A bathroom is a small room where the expensive mistakes are the invisible ones: a shower pan that was never sloped, a fan ducted into the attic, a niche cut in after the waterproofing went on. When the tile, the carpentry and the plumbing coordination sit with one company, nothing falls between trades, and the layer you will never see gets the same attention as the tile you will.
A tiled shower, layer by layer
What goes into a shower floor and walls before and after the tile, in the order it goes in. Skip one and the shower leaks, usually somewhere you cannot see.
Layer 1
Framing and blocking
Studs straightened so the tile lands flat, and solid blocking added now for a grab bar, the glass door hinges, a bench and the niche. None of it can be added once the wall is closed.
Layer 2
A sloped floor
The shower floor falls toward the drain at least a quarter inch per foot, the slope the plumbing code asks for. It is built as a sloped mortar bed or a pre-sloped tray, never left flat and fixed with thicker thinset.
Layer 3
Backer board
Cement board or a foam board made for wet areas on every wall inside the shower. Ordinary drywall and the green moisture-resistant kind do not belong there.
Layer 4
Waterproofing
Either a liner under the mortar bed or a sheet or liquid membrane over the backer, with the seams, corners, niche and valve openings reinforced and the membrane tied into the drain.
Layer 5
Flood test
The drain is plugged, the floor is filled with water and left, and the level is checked before a single tile covers the pan. A leak found here costs an afternoon.
Layer 6
Thinset and tile
Tile set in thinset with full coverage, larger tiles back-buttered so there are no hollow spots, and the floor tile chosen for grip when it is wet.
Layer 7
Grout and movement joints
Grout fills the joints; it is not the waterproofing. Inside corners and the joint where tile meets the tub or the pan get flexible sealant, because those planes move.
Bathroom remodel questions
Should the tub come out for a walk-in shower?
For most primary baths, yes. A walk-in shower uses the space better, is easier to step into as you get older, and is what buyers expect. The exception is a house with only one tub. Keep at least one tub in the house for kids, for pets and for resale, which usually means the hall bath keeps its tub and the primary bath gets the shower.
Replacing a 60-inch tub with a 60-inch shower base and tiled walls keeps the drain close to where it was. A tiled floor, a bench or a larger footprint changes the framing and the slope and moves the drain, and moving a drain brings a plumbing permit and an inspection.
Can the shower be curbless?
Often, but it is a framing job. The shower floor has to drop below the bathroom floor to get its slope, which means lowering the subfloor between the joists on a wood floor or cutting the slab on a concrete one. A linear drain along the back wall lets the whole floor slope one way, so larger tile works. The waterproofing also has to run out past the shower opening, because without a curb nothing stops a splash at the edge.
How big does the bathroom exhaust fan need to be?
The residential code minimum is 50 cubic feet per minute for a fan that runs when you switch it on, or 20 for one that runs all the time. A common rule for sizing above that is one cubic foot per minute for each square foot of floor in a bathroom up to 100 square feet. A fan on a timer or a humidity sensor keeps running after the shower is off, which is when it does most of its work.
Where it goes matters as much as its size. The duct has to end outside the house at a wall or roof cap, not in the attic and not just pointed at a soffit vent. Humid air dumped above the ceiling turns into mold on the insulation and stains on the drywall a few years later.
Which tile works on a shower floor?
Small tile, two inches or less, is the traditional choice because it follows the slope toward the drain and the grout lines give your feet something to grip. Larger tile works on a floor that slopes one way to a linear drain. Porcelain is dense and absorbs almost no water. Marble looks good and etches from some cleaners and needs sealing. Whatever you choose, check its wet slip rating; the tile that looks right on the wall is often the wrong one underfoot.
Is sealing the grout enough to waterproof a shower?
No. Cement grout is porous whether it is sealed or not, and sealer only slows staining. The waterproofing is the liner or membrane behind the tile. Epoxy and urethane grouts resist stains and do not need sealing, which is worth considering for a shower floor, but they still do not replace the membrane.
How an estimate goes
Step 1
Initial contact
Call or send your project details through the form. Dom gets back to you the same day, or within 24 hours at the latest, to hear what you are planning and set a time to come out.
Step 2
On-site walkthrough
Dom comes to the house and walks the space with you. He looks at what is there now, takes measurements, asks what you want the room to do, and talks through what the work involves. The walkthrough is free and there is no obligation.
Step 3
Scope estimate
He puts the scope together: what gets done, what materials it takes and what it costs. You get it in writing, so you can read it on your own time.
Step 4
Scope finalization and approval
You and Dom go through it together and change whatever needs changing. Nothing starts until you approve the final scope, and then the work gets scheduled.
Where this work is done
Every county Dawson's serves, and the towns in each that have their own page.
- New Castle County, DE
28 town pages
Wilmington, North Wilmington, Claymont, Hockessin, Greenville, Elsmere, Newark, Christiana, Glasgow, Bear, New Castle, Delaware City, Odessa, Middletown, Townsend, Pike Creek, Newport, Marshallton, Stanton, Brookside, St. Georges, Port Penn, Bellefonte, Edgemoor, Arden, Centreville, Rockland, Yorklyn
- Kent County, DE
- Chester County, PA
20 town pages
- Delaware County, PA
15 town pages
Ready to plan your bathroom?
Call Dom, or send the details and the address. The walkthrough is free, the estimate comes in writing, and nothing starts until you approve the scope.